How to Pole Plant
Why do you need a pole plant?
There are many reasons to use a pole plant, which change depending on the size of turn you are making, how fast you are travelling, the steepness of the slope and even the type of slope you are navigating.
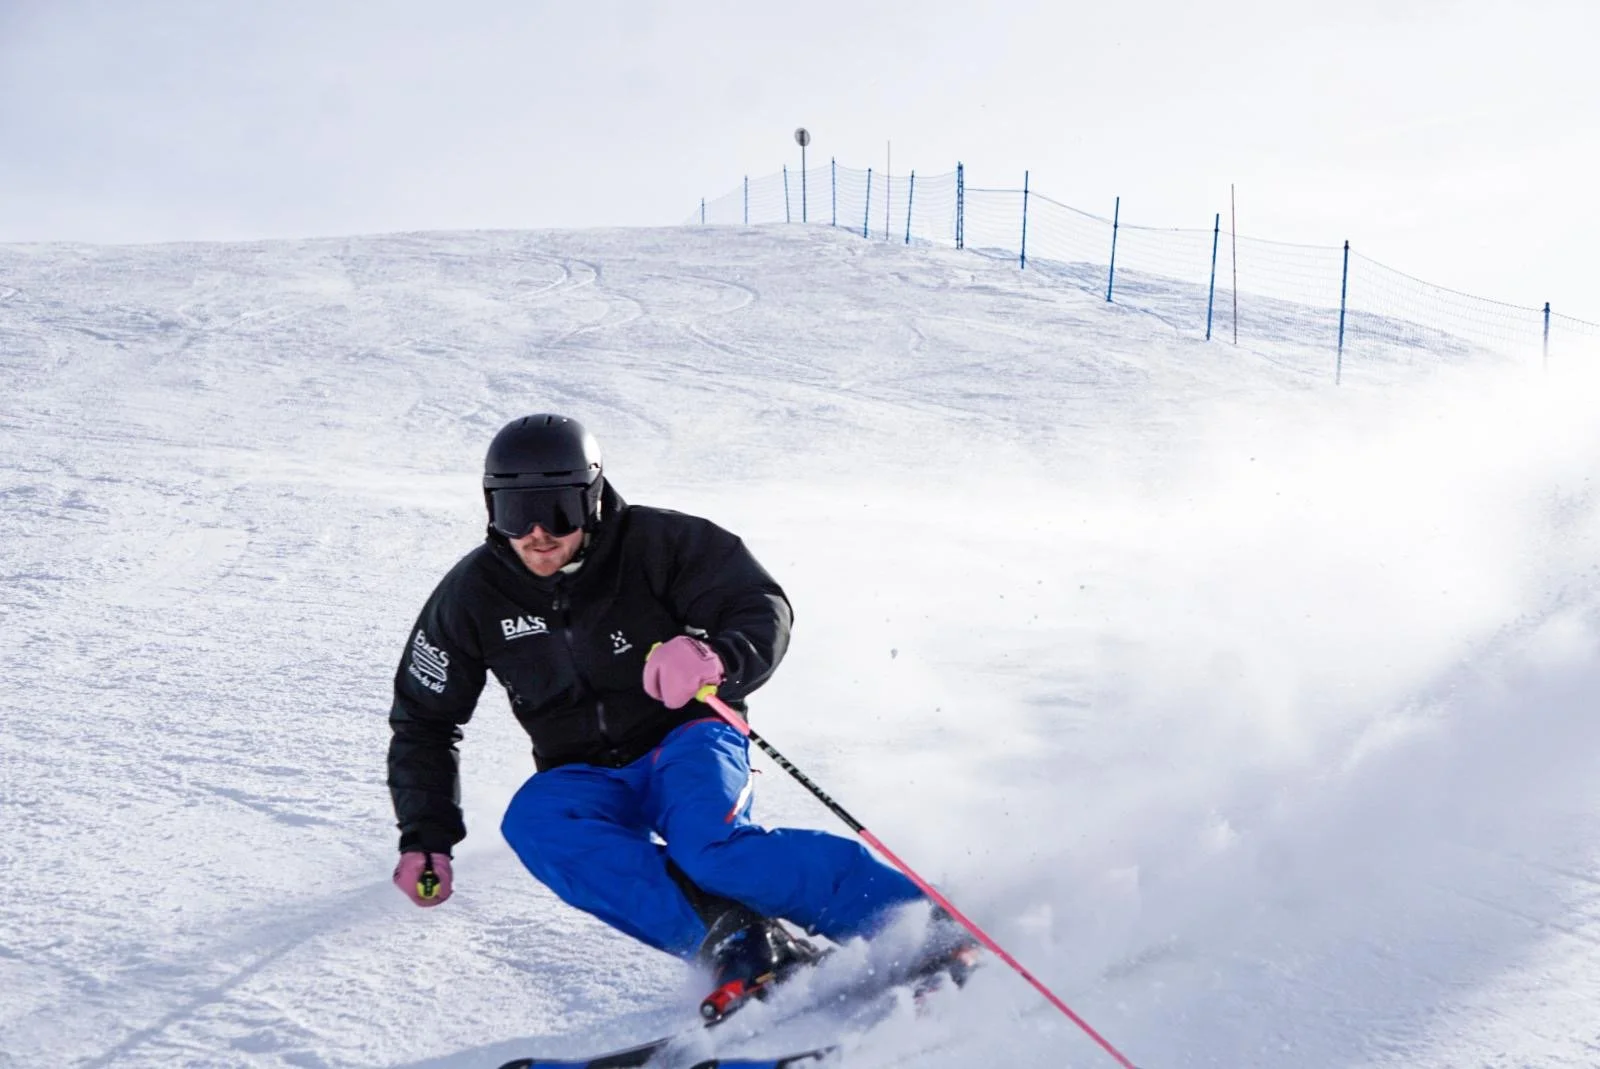
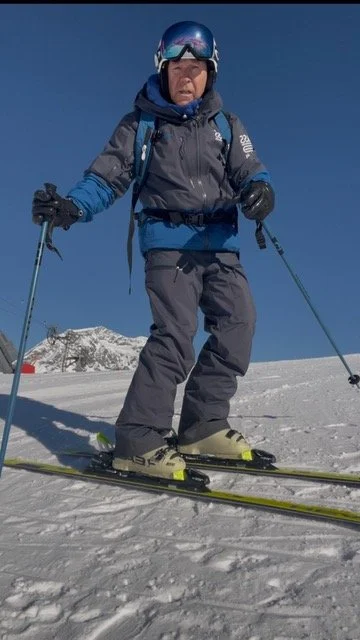
Pole plant, as simple as 1, 2, 3.
I like to think of a pole plant as the punctuation to my skiing. In long turns it comes at the start, linking the previous turn to the next like a comma linking sentences. In short turns it comes at the end of each turn, like a full stop. Of course this is just two different ways of thinking about the one thing. Never-the-less, the thinking about the pole plant at the start, or at the end of a turn will make a considerable difference to your performance.
After all, a pole plant is just a pole plant, isn’t it? Aren’t they all the same.
No, a pole is not one move fits all, it has different positions and different intensity for different manoeuvres.
Here are 3 pole plant positions to help you decide the correct one to use.

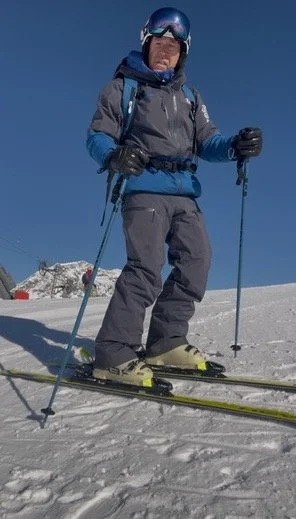
Position 1.
Reaching forward to plant the pole close to the front of your skis. For the purpose of this article, let’s call this the “closed door”. Body position is important to the transition from one turn to the next. Your centre of mass needs to cross over from the inside of one arc to the inside of the next. Position 1 blocks this transition and is complicit in highlighting bad practices such as: starting the turn with a pop, or a twist, or a stem.
Make a concerted effort to stop using this position in preference of selecting the following two positions for the appropriate turn type.

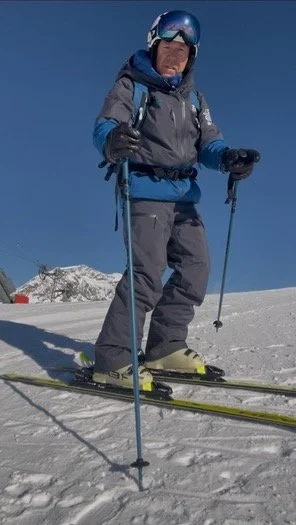
Position 2.
Medium to long turns and cruising around the piste.
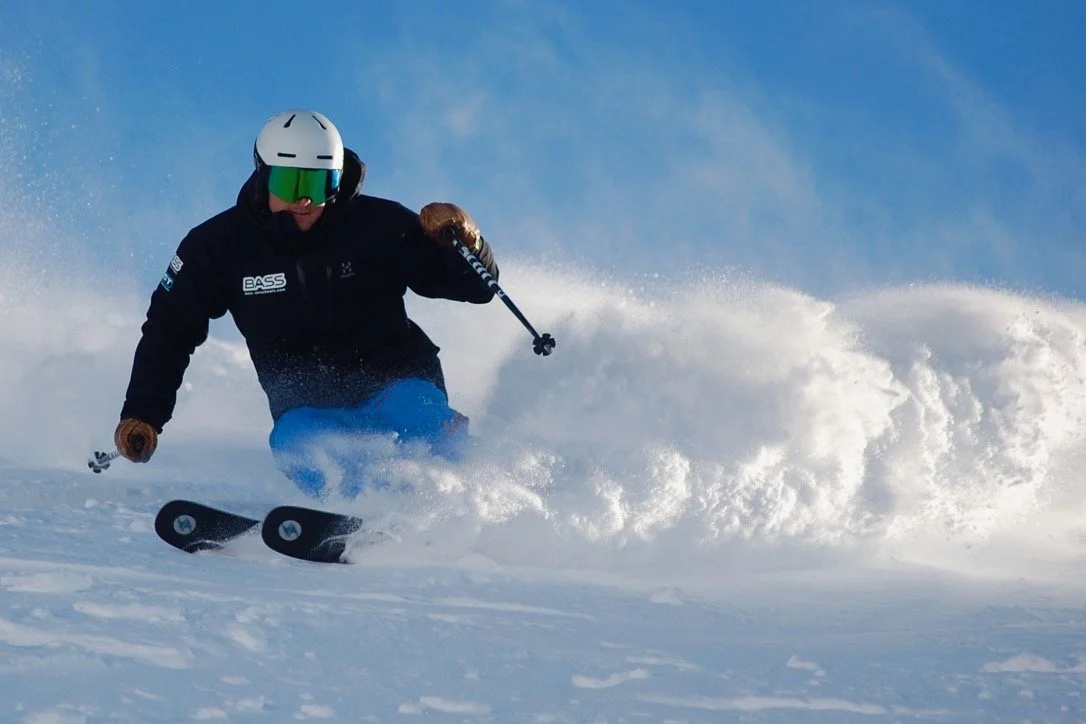
This is the open door. By opening your body to the hill it will be natural to plant the pole further down the hill from your skis about halfway to two thirds of the way between the tip of your ski and the toe piece of your binding. Now there is a gap for your centre of mass to travel through. By planting further down the hill, you have helped the hips to come over your feet and on through into the next turn, smoothly and efficiently. Now you will be able to build an edge angle and have sufficient balance to work the ski through the arc.
‘A comer to link your turns.’

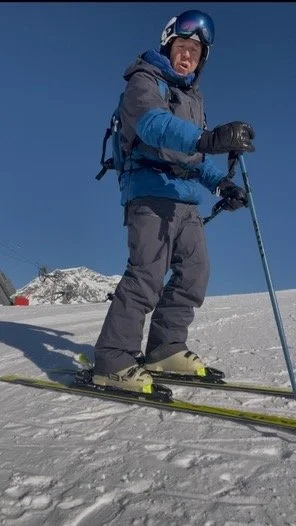
Position 3.
Short turns, steep slopes and bumps.
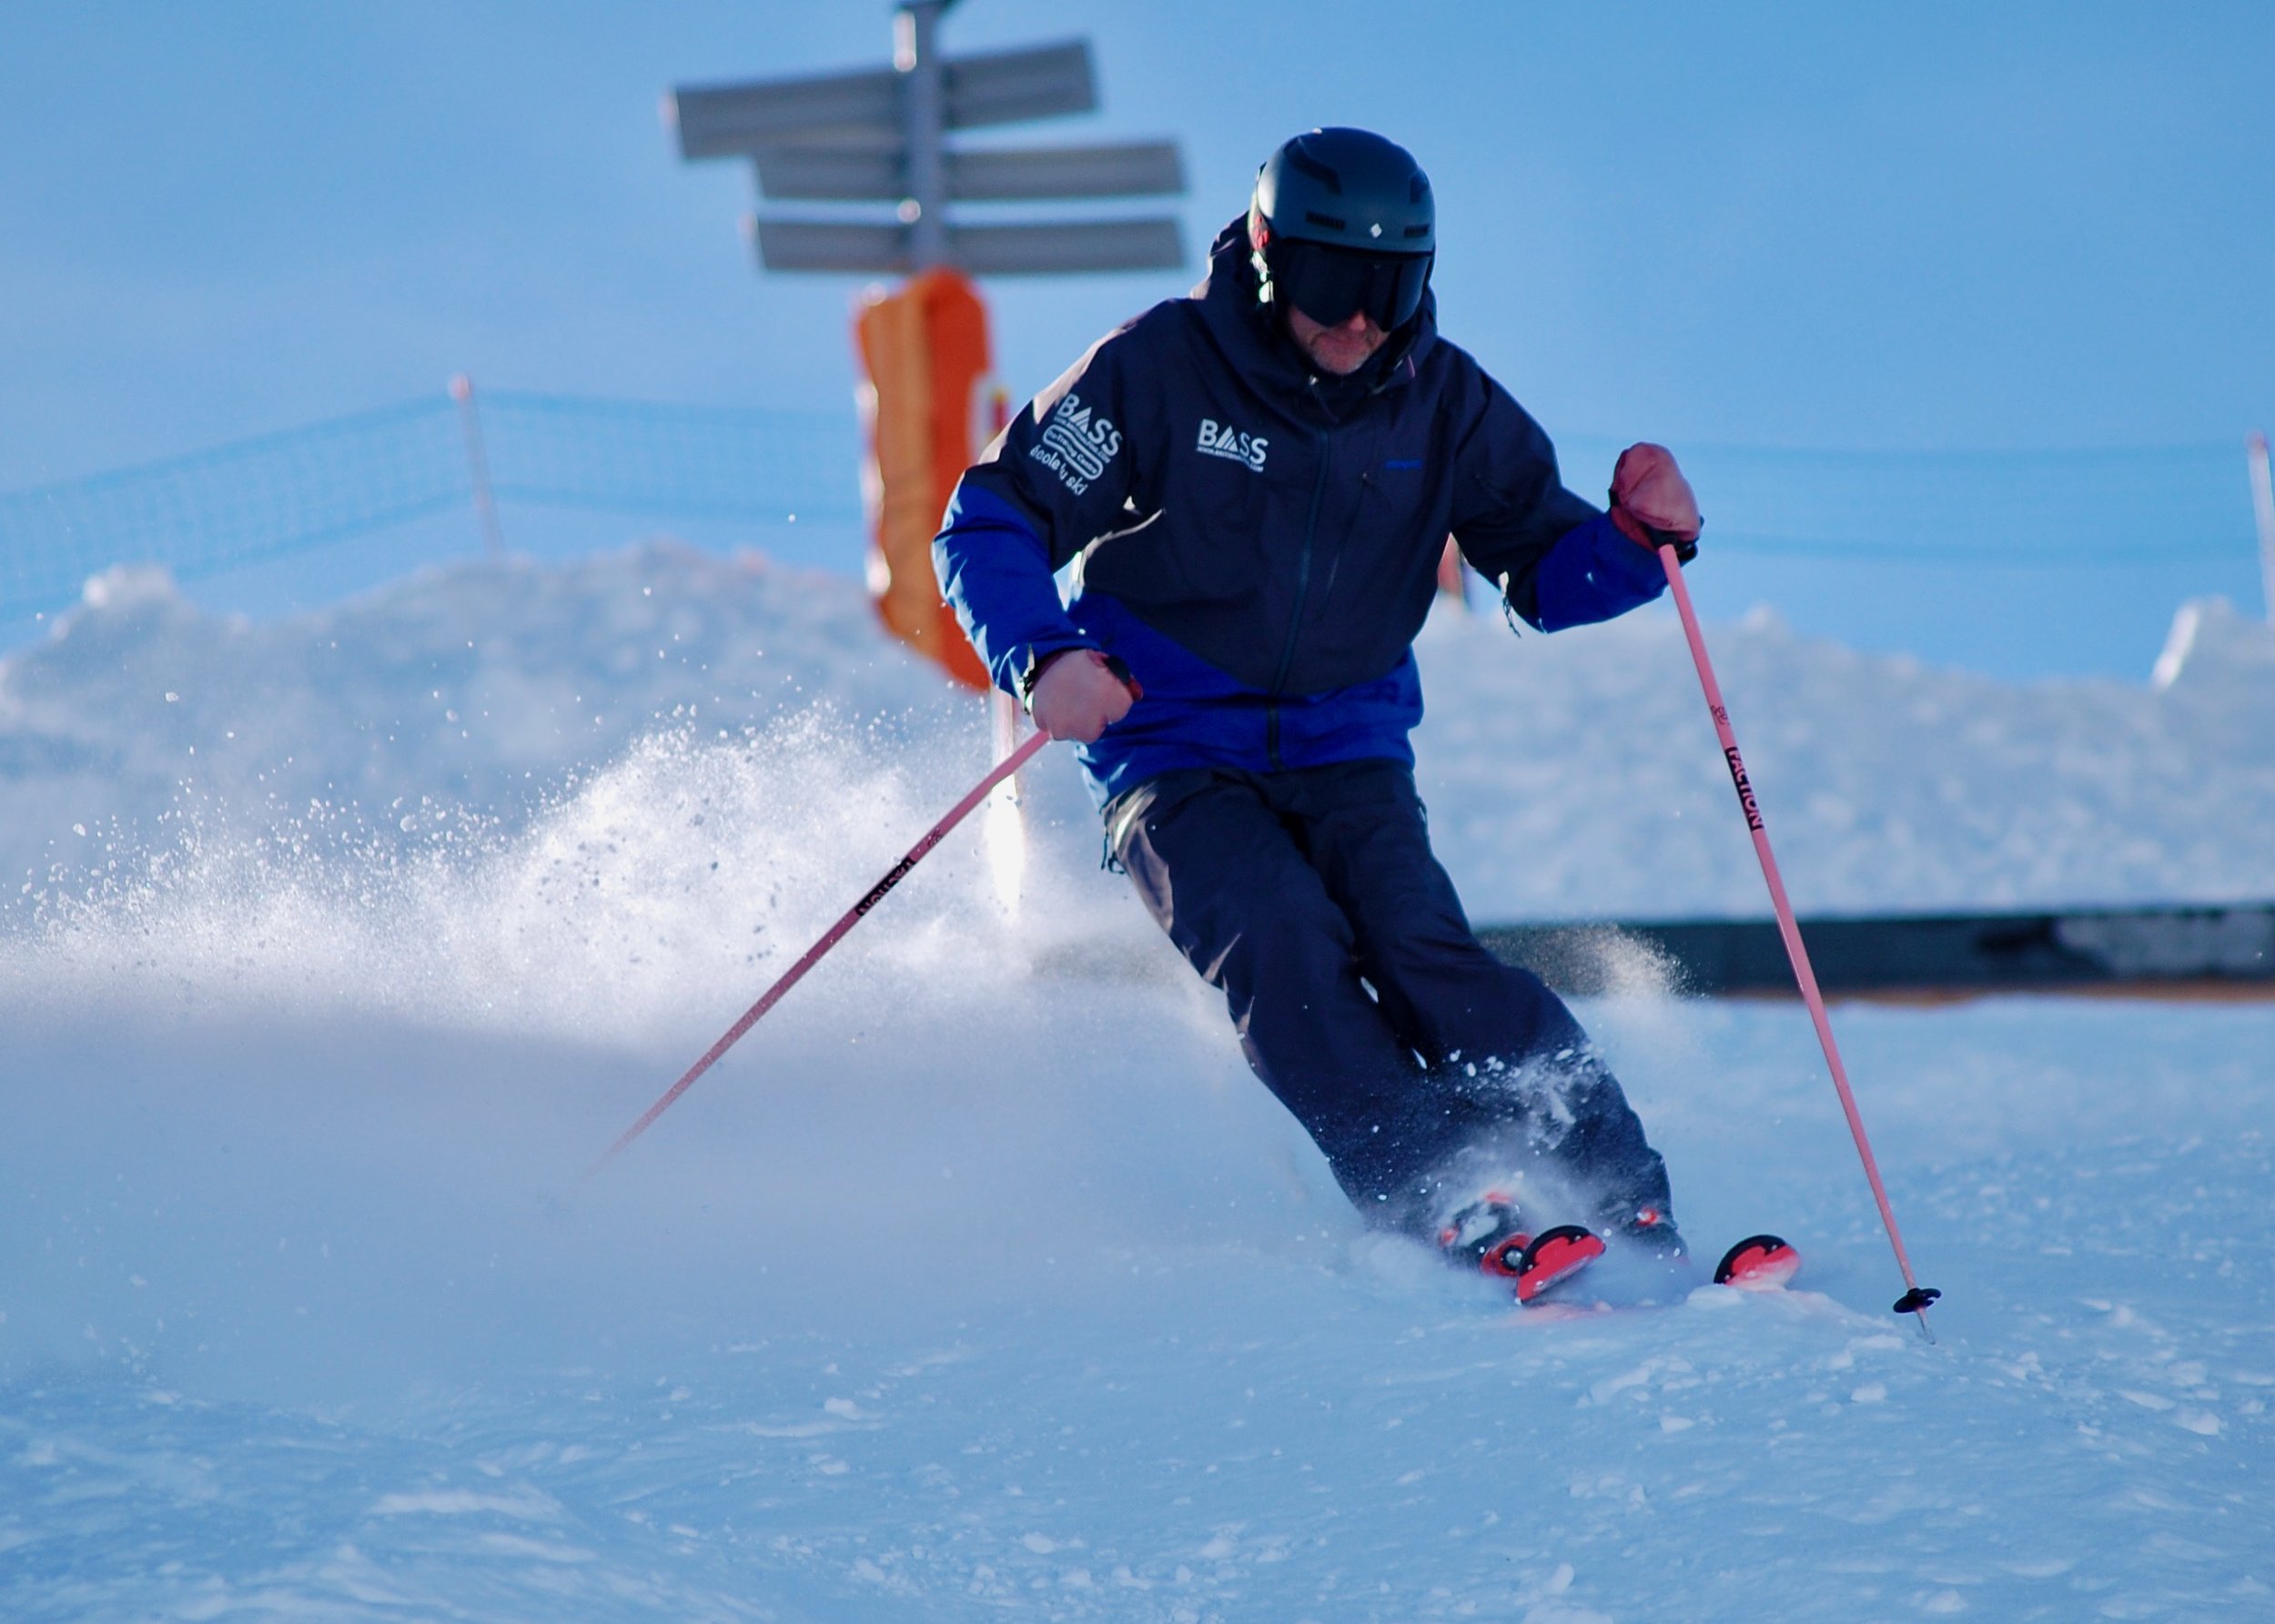
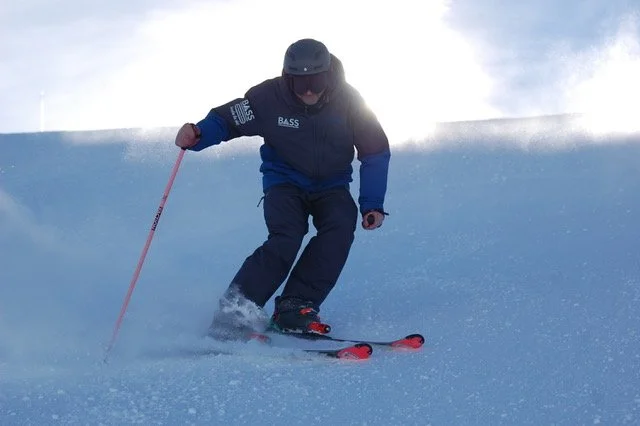
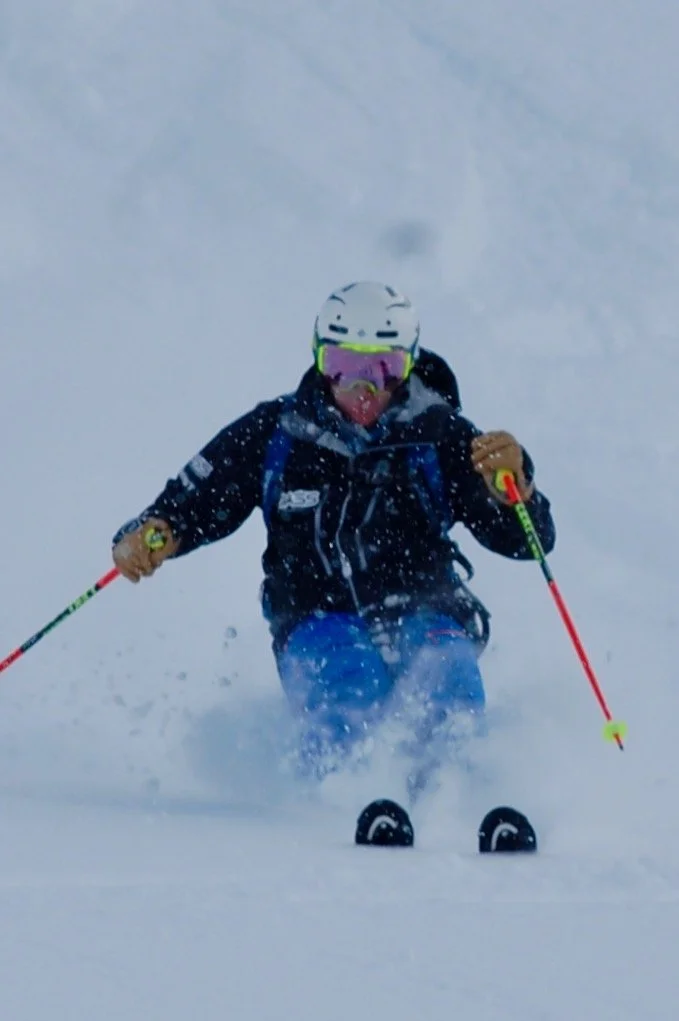
Now the door is wide open, more like a garage door. Generally for short turns you want your body facing down the hill while your feet travel out away from you and return back under you as they steer an arc. This is rotational separation. The pole is now the full stop of one turn and the trigger for the next. By thinking of it happening at the end of the turn it will help you to come back over your feet while maintaining your body position. Tork will build between the upper and lower halves of your body and that energy can be converted into agility. Rhythm is a key point to your performance in shorter turns and the pole plant can help with timing. A strong positive pole plant will give you support when skiing bumps and steeps.
A few things to remember.
Don’t swing your arm to plant the pole. You can reach, especialy down the hill, but use your wrist to swing the basket forward.
Try holding your poles below the handles to make you work harder to plant the pole. It’s a good drill for getting you back over your feet and flexing your legs.
Watch out for poles that are too long. You will be left standing too tall at the end of the turn and away from your feet. As a rule of thumb, the ideal pole length these days is about 5cm shorter than in the past.
In the bumps, the pole is planted on the crest of the mound.
At higher speeds it becomes a pole touch, not a jab into the snow.
In any BASS lesson your instructor can train you to use the pole correctly for every type of turn.